Photoshop合成逼真的透明鸡蛋
时间:2014-04-22 06:58:16来源:网络整理
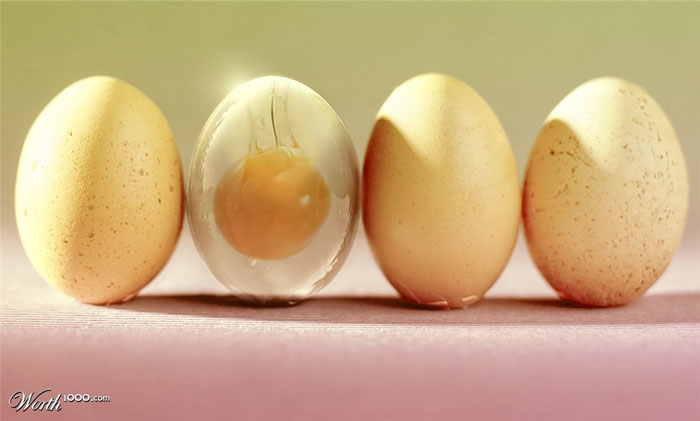
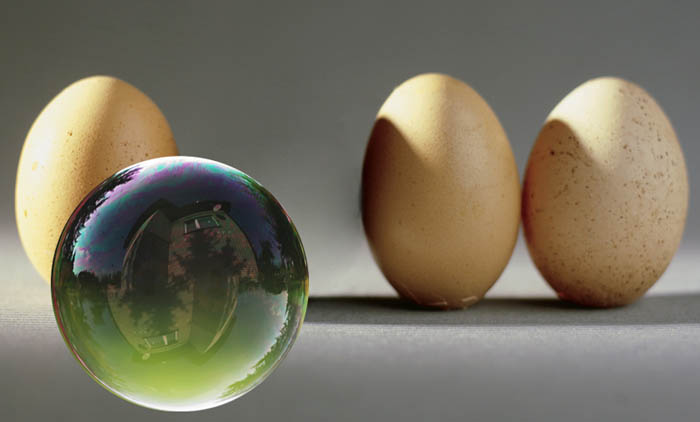
效果图中的鸡蛋使用气泡与蛋黄合成的。过程也比较简单,选取气泡以后,用变形工具变成鸡蛋的形状,然后融入蛋黄,并调整好细节即可。
最终效果
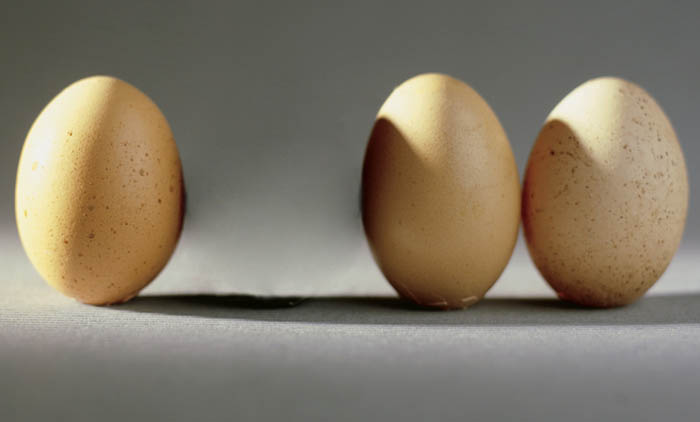
1、打开素材图片。
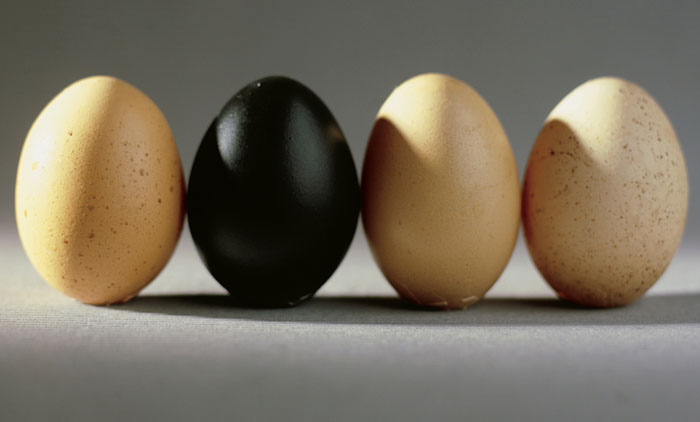
2、把背景图层复制一层,选择仿制图章工具把黑色鸡蛋涂抹掉。

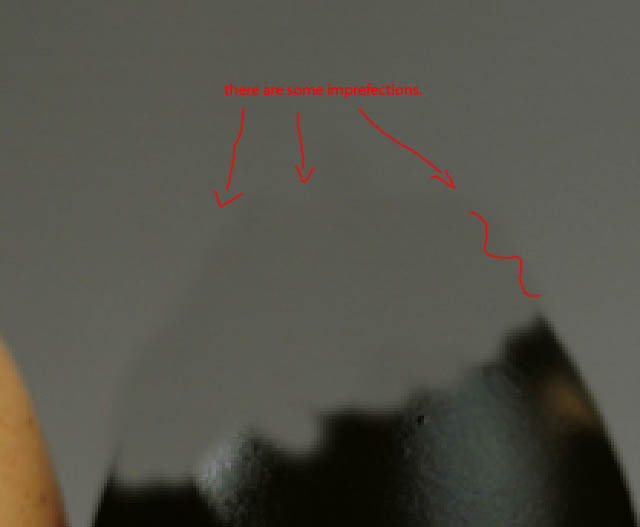
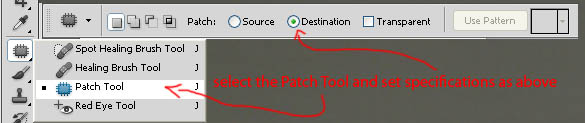
3、再用修补工具把边缘明显的痕迹去掉。
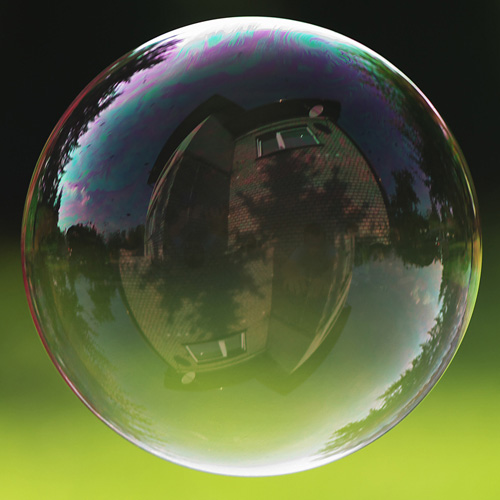
4、打开气泡素材。
5、选择椭圆选框工具,选取所需的部分。
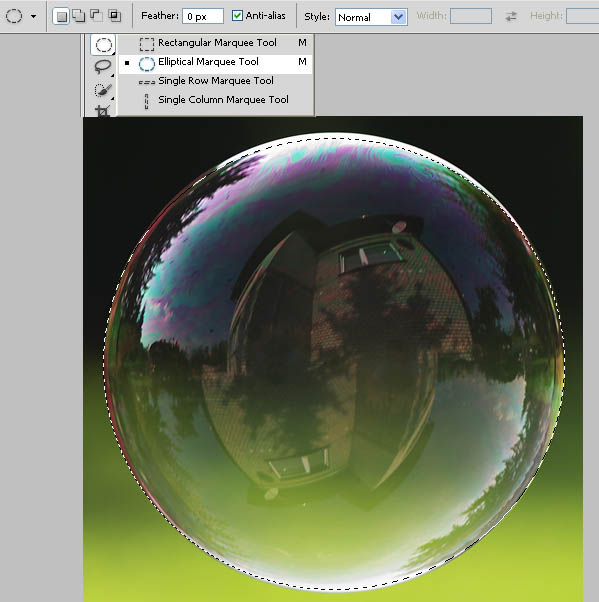
6、将选取的气泡移到鸡蛋文件中,并调整到黑色鸡蛋的位置。
本类热门